Hi Friends,
Hope you’re all winding down from the weekend of Christmas celebrations. I took a day Monday to clean, put away decorations and spruce up our dining room a bit. 🙂


This is what I started with. Mostly I just wanted to fill in the big blank wall at the back of our dining room that has had me stumped for months. I decided that a small gallery wall would fit here perfectly. I assembled some items from around the house and then took a trip to the home store to fill in the rest.

Here are some tips I used when filling in my wall:
1. You don’t have to go overboard. I see a lot of pretty walls on Pinterest with these huge expensive paintings or 50 photo frames that all match perfectly. In my opinion, simple is better. Easier on the eyes and the wallet too. A lot of the items that I put up were thrifted, things I had around the house, or things I bought on clearance. You don’t need a big budget to make a statement, just a little creativity.


2. Don’t be afraid to shop in the “wrong” section of the store. I used this soap dish from the bathroom section as a mini shadowbox. A couple adhesive mounting squares later and I had a spot to showcase a couple pressed pennies from local places we’ve been. A lot of times I find exactly what I’m looking for in the “wrong” spot. 🙂

3. Make it personal! The only thing separating your wall from all the other gallery walls on the internet is that it’s yours! Sure, you could copy a gallery wall you find on the internet item for item and it would look beautiful. But why not make it mean something to you by adding a personal touch? All of the photos I used on this wall are ones I’ve taken on various trips to New York City, Chicago and Puerto Rico.

4. Beg, borrow and steal – from yourself. I had originally planned on putting a couple of these vintage washboards up in our laundry room butttt they looked really good on this wall. Also, this way, more people will get to see them, including me, because we spend more time in this area than our laundry room. Moving things from room to room in your house is an easy way to freshen a space without spending a penny.


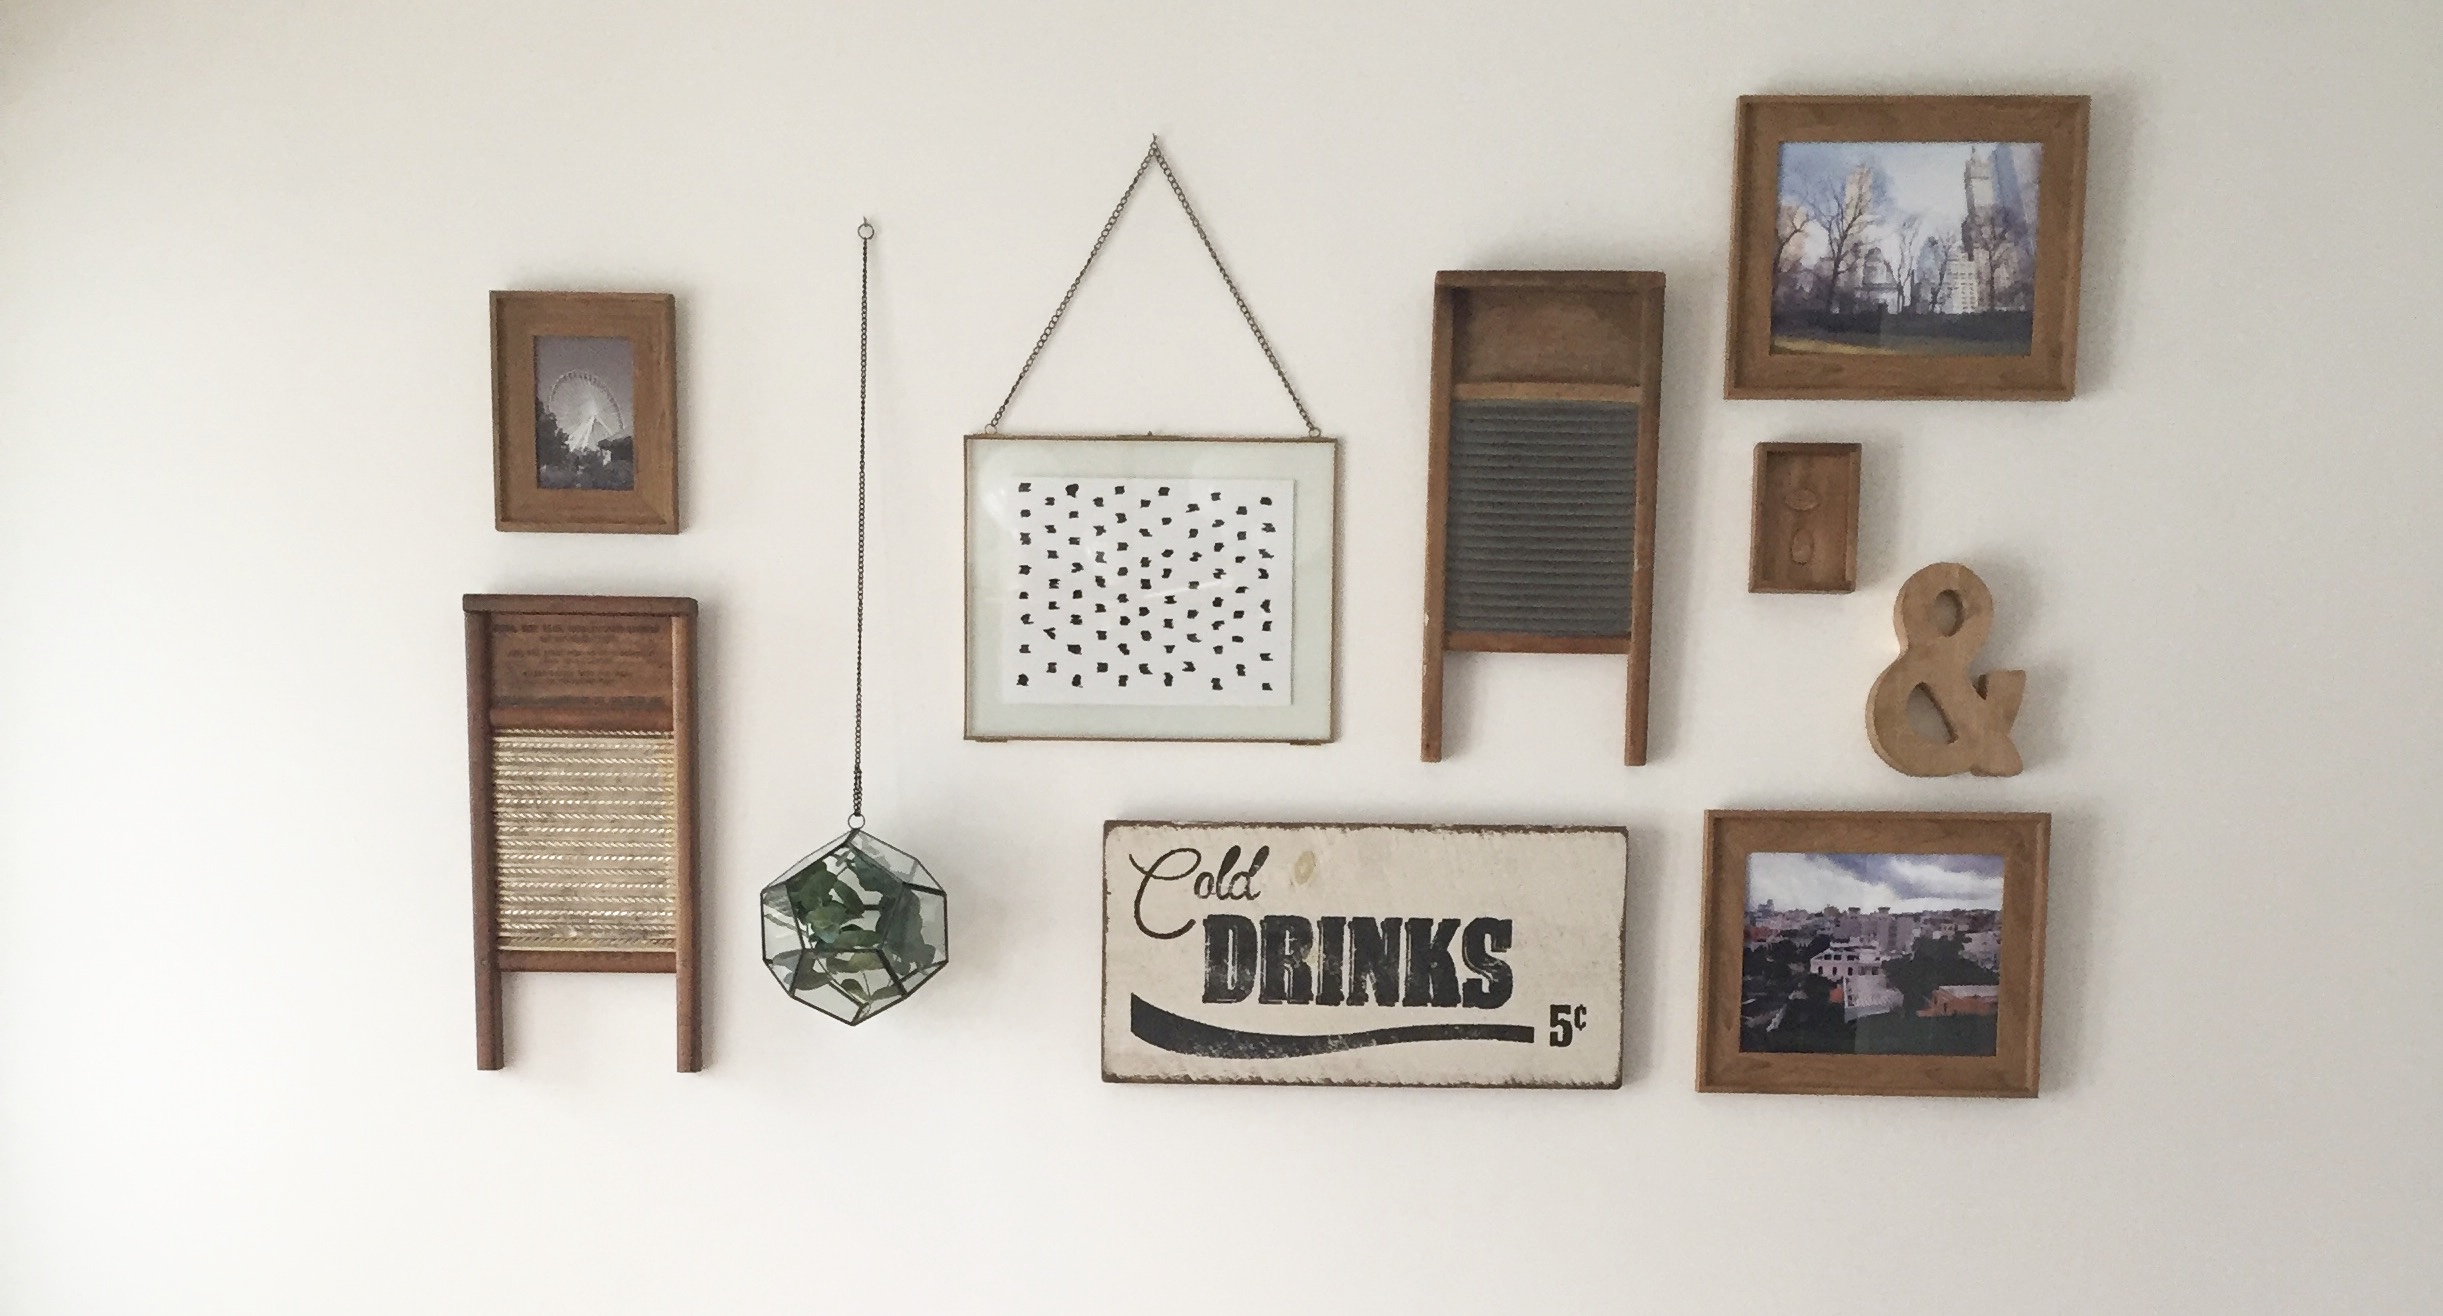
Here is my finished wall! Washboards – vintage, wooden frames – Target, hanging planter, glass frame and “Cold Drinks” sign – HomeGoods, ampersand – old, from our wedding, painting and pictures by me.


The black and white painting is actually based off a painting my sister made for her house that I love and my Magnolia bucket was a Christmas gift from my sister-in-law. It fits perfectly in this room now.
One final thought: I see a lot of people recommend you trace each object you’re planning on hanging onto paper to create a template on your wall before you make any holes. I didn’t do that. Partially because I’m impatient but also because I know I’m pretty good at just eyeballing things most of the time. If you think it would help you, go for it.
I’m hoping to someday get a new dining room table with room for 6 or 8. I’d also like to get some sort of console to put underneath the gallery wall to hold extra kitchen stuff. I’ll keep you all posted as it changes. 🙂
Thanks for reading,


One response to “4 Tips for Creating Your Best Gallery Wall.”
[…] gallery wall hasn’t changed…yet. I’m debating adding more to it but I just have too many other […]